A café owner in Texas made a mistake that’s painfully common: after a busy summer, she skipped the end-of-day cleaning routine for just three days. What started as a shortcut turned into a $400 repair bill and a week of lost sales while parts came in. The machine’s freezing cylinder had frozen solid with accumulated residue.
That story plays out in hundreds of operations every year. Not because operators are careless—but because they don’t fully understand how quickly small shortcuts become expensive problems.
This guide gives you everything you need to keep your soft serve equipment running perfectly for years. We’ll cover daily cleaning, weekly maintenance, monthly checks, and troubleshooting for the most common problems.
Why Maintenance Matters
Before diving into procedures, understand why this matters financially:
- Downtime costs money: A broken machine during your busiest weekend can mean thousands in lost sales.
- Repairs are expensive: Service calls run $150-300 minimum. Parts can add hundreds more.
- Product quality suffers: A poorly maintained machine produces inconsistent soft serve—customers notice and don’t come back.
- Equipment lifespan: Well-maintained commercial soft serve equipment lasts 10-15 years. Neglected equipment needs replacement after 3-5 years.
The 15 minutes you spend cleaning each day is the cheapest insurance policy you’ll ever buy for your business.
Daily Cleaning Routine
This should happen at the end of every operating day—yes, every single day. Here’s the step-by-step:
Step 1: Drain Remaining Mix
Turn off the machine and open the drain valve (or use the draw-off tap) to remove any remaining ice cream mix from the hopper. Don’t leave mix sitting overnight—it degrades and creates bacterial risk.
Step 2: Run the Cleaning Cycle
Most commercial soft serve machines have a dedicated clean button. Here’s what happens:
- Fill the hopper with warm water (not hot, not cold—around 40°C works best)
- Add the recommended cleaning solution (your machine manual specifies the correct product)
- Press the clean button and let the machine run the cycle (usually 2-5 minutes)
- The cleaning solution circulates through the freezing cylinder and dispensing system
Never use harsh chemicals like bleach or ammonia. These damage seals and leave residues that contaminate your next batch of product.
Step 3: Rinse Thoroughly
After the cleaning cycle, run 2-3 cycles with clean warm water to remove all cleaning solution residue. Taste the water if you’re unsure—it should taste neutral.
Step 4: Hand Clean Removable Parts
Take apart these components and wash by hand:
- Dispensing nozzle
- Drip tray
- Snout (the visible part of the dispensing valve)
- Any flavor shot injectors
Use a soft brush—never anything abrasive that could scratch surfaces. Rinse thoroughly and air dry before reassembling.
Step 5: Final Wipe-Down
Wipe down the exterior of the machine with a clean, damp cloth. Pay attention to the area around the dispensing valve where drips accumulate. Leave the door slightly open overnight to allow moisture to evaporate.
Total time: 15-20 minutes
Weekly Maintenance
Once per week, add these tasks to your routine:
- Deep clean the hopper interior: Remove the hopper if possible and scrub with a soft brush and cleaning solution. Pay attention to corners and seams where residue accumulates.
- Clean the condenser coils: Located at the back or bottom of the machine, these coils release heat. Dust buildup reduces cooling efficiency dramatically. Use a coil brush or vacuum with a soft brush attachment. This takes 5 minutes and prevents major problems.
- Inspect the scraper blades: These rotating blades inside the freezing cylinder wear over time. Check for signs of wear, nicks, or dulled edges. Replace if necessary—worn blades don’t scrape properly and affect product texture.
- Check door gaskets: Inspect the rubber seal around the access door. Cracks, hardening, or gaps allow air infiltration that affects freezing performance.
Total additional time: 20-30 minutes
Monthly Checks
Once per month, perform these deeper inspections:
- Inspect all seals and O-rings: Look for hardening, cracking, or flattening. Replace worn seals before they fail completely.
- Check belt tension: If your machine uses belts (some don’t), check for proper tension and wear.
- Level the machine: Use a level to verify the machine is sitting flat. An unlevel machine affects product consistency and can strain components.
- Review electrical connections: Check that all connections are secure and wires show no signs of damage or overheating.
These checks take 15-20 minutes but catch problems before they become expensive repairs.
Common Problems and Solutions
When things go wrong, here’s how to diagnose and address the most common issues:
Problem: Machine Won’t Start
Check first:
- Is the machine plugged in?
- Is the power switch on?
- Has the circuit breaker tripped?
If power is confirmed but it won’t start:
- Check if the door is fully closed—most machines won’t run with the door open
- Look for error codes on digital displays
- Let the machine sit for 10 minutes after a power interruption—some models have a compressor delay
If none of these work: Contact technical support. Don’t bypass safety switches.
Problem: Product is Too Hard / Won’t Dispense
This usually indicates the freezing cylinder has frozen solid—either from residue buildup or from running the machine at too low a temperature setting.
Solution:
- Turn off the machine
- Let it sit for 30 minutes to thaw slightly
- Run a cleaning cycle with warm (not hot) water
- If the problem persists, you may need to manually break up ice that’s formed around the dasher—call for service if so
Prevention: This usually happens when daily cleaning is skipped or when the machine is left running at too cold a temperature setting when not dispensing product.
Problem: Product is Too Soft / Runny
Possible causes:
- Temperature setting too warm: Check the thermostat setting
- Hopper running low on mix: The machine needs sufficient product in the hopper to freeze properly
- Mix is too warm: Add only chilled mix (4-7°C)
- Compressor issue: If the machine isn’t actually freezing, you may have a refrigerant problem—call for service
Problem: Inconsistent Texture / Lumpy Product
This almost always points to the gear pump or overrun settings:
- Check the gear pump: If the pump is worn or failing, it can’t maintain consistent overrun
- Verify overrun settings: Your machine has controls for air intake—ensure they’re set correctly
- Inspect the dasher: A damaged or worn dasher won’t incorporate air properly
If you recently replaced mix suppliers and notice texture changes, the new mix may have different properties. Some mix brands work better with specific machines.
Problem: Strange Noises
Listen carefully to diagnose:
- Grinding or scraping: Likely the dasher blade hitting the cylinder wall—often from ice buildup or worn bearings
- Clicking or ticking: Could be the compressor relay or a relay problem
- Humming or buzzing: Usually the motor or pump—could indicate impending failure
Strange noises that persist warrant a service call. Don’t run the machine if it sounds like something is grinding—further damage is likely.
Problem: Leaking
Common leak points:
- Dripping from the nozzle: Usually the dispensing valve seals—replace the O-rings
- Water pooling at the base: Could be a drain line clog, a cracked drain valve, or condensation from humid conditions
- Mix leaking from the hopper: Check hopper seals and the hopper itself for cracks
When to Call a Professional
Some problems are beyond DIY fixes. Call a technician if you experience:
- Refrigerant leaks (you may see ice buildup on the floor or smell refrigerants)
- Electrical problems (burning smells, sparking, persistent circuit breaker trips)
- Compressor failure (the machine runs but doesn’t produce cold product)
- Major component replacement (gear pump, motor, compressor)
- Any problem that involves opening sealed electrical or refrigeration compartments
Regular maintenance prevents most of these problems. The $400 repair bill from our Texas café owner? It started with three skipped cleanings.
Tips to Extend Equipment Life
A few proven practices that add years to your machine’s lifespan:
- Use quality ice cream mix: Cheap mixes often contain ingredients that gum up the machine and affect the gear pump
- Keep the area clean: A clean environment around the machine reduces dust that clogs condenser coils
- Use a voltage stabilizer: Power fluctuations damage electronics—protect your investment
- Don’t overwork the machine: Running at maximum capacity 24/7 shortens component life
- Follow the manufacturer’s warm-up procedure: Let the machine reach operating temperature before dispensing after startup
- Cover when not in use: If you’ll be closed for an extended period, use the night cover to prevent dust and pests
Summary: Your Maintenance Checklist
Keep this checklist visible near your equipment:
- Daily: Drain mix, run clean cycle, rinse, hand-clean removable parts, wipe exterior
- Weekly: Deep clean hopper, clean condenser coils, inspect scraper blades, check door gaskets
- Monthly: Inspect seals and O-rings, check belt tension, verify level, review electrical connections
- As needed: Address strange noises, leaks, or performance issues immediately
Follow this routine consistently, and your commercial soft serve equipment will reward you with years of reliable service and consistent product quality.
Need replacement parts or technical support? Contact our team. We stock common wear items and can walk you through troubleshooting over the phone.
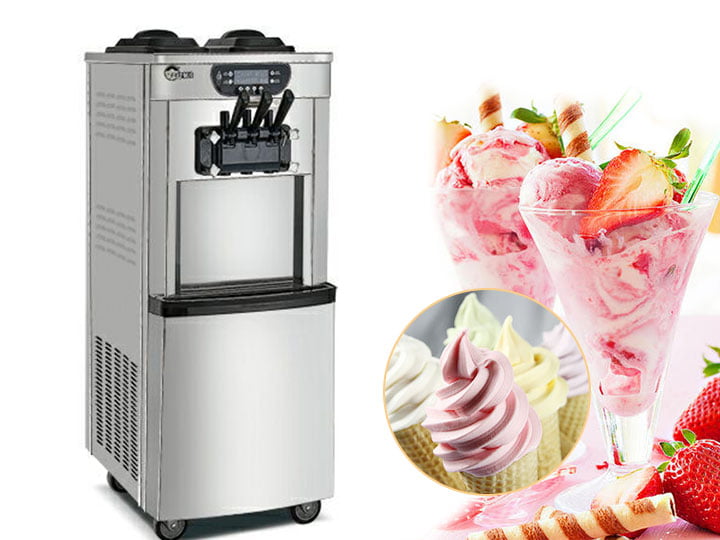
Browse our selection of commercial soft ice cream machines built for reliability and easy maintenance.